

Before you start
You need:- A WHMCS installation (version 8.0 or newer) running on PHP 7.4 or newer with the ionCube Loader extension enabled
- Your invoice currency set to NPR (Nepalese Rupee) in Configuration → System Settings → Currencies - this module only sends NPR amounts
- A PayBridgeNP API key from the PayBridgeNP dashboard under Settings → API Keys (either
sk_live_…orsk_test_…) - Administrator access to your WHMCS admin area and SSH / SFTP access to the WHMCS install directory on your server
Step 1 - Download the module
Download the latest release from paybridgenp.com/integrations/whmcs by clicking the Download module button, or find us on the WHMCS Marketplace. You’ll get a file named:Step 2 - Extract into your WHMCS install
The ZIP is structured to drop into the root of your WHMCS install. From the server’s WHMCS directory (the one containingconfiguration.php, admin/, modules/, etc.):
modules/gateways/:
Step 3 - Activate the gateway
- Log in to your WHMCS admin area
- Open the gateway list:
- WHMCS 9.0 and newer: Configuration → Apps & Integrations → Browse → Payments
- WHMCS 8.x: Configuration → System Settings → Payment Gateways → All Payment Gateways tab
- Find PayBridgeNP in the list and click the tile
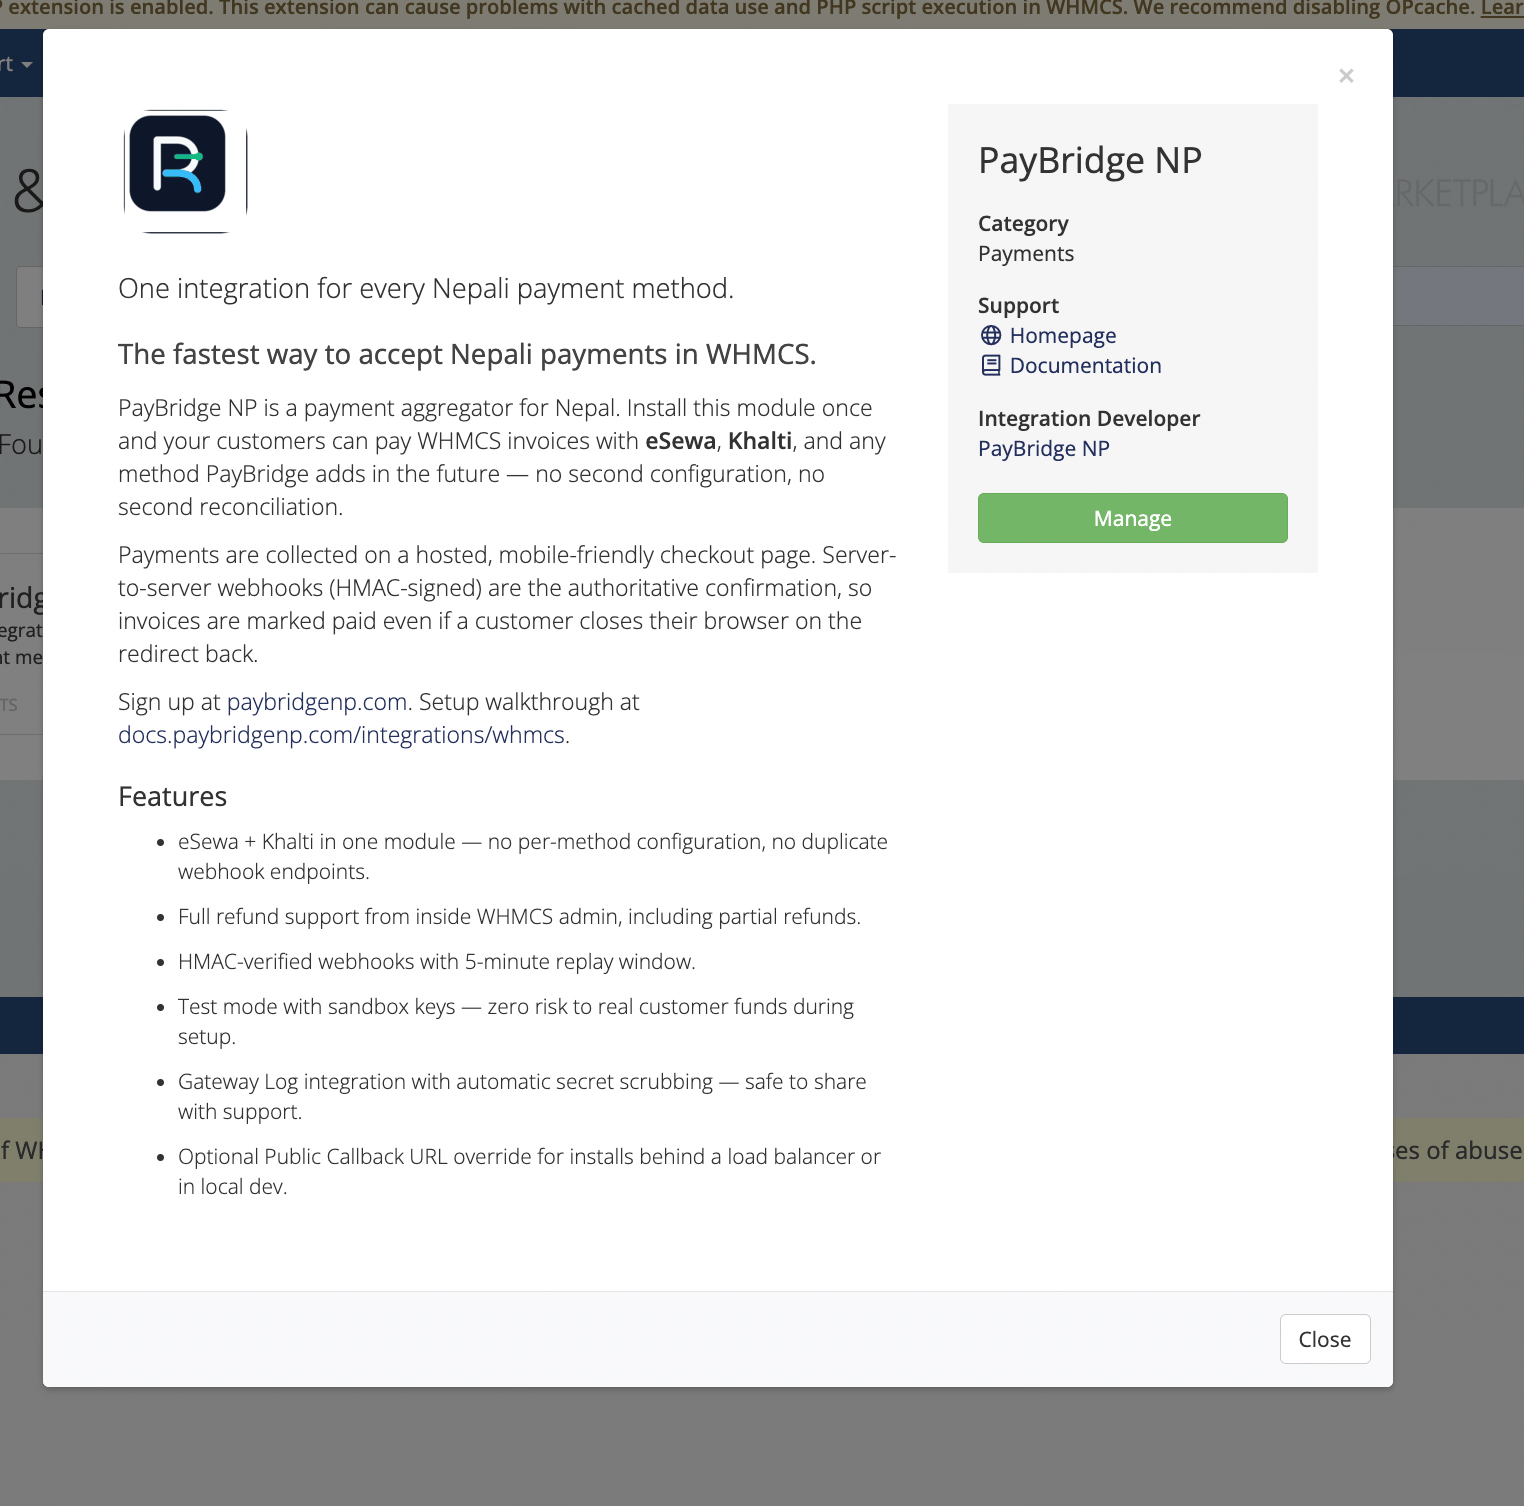
The PayBridgeNP listing inside Apps & Integrations - logo, description, category, and developer links.
- Click Activate (or Manage if it’s already activated)
Step 4 - Configure the gateway
Fill in the form: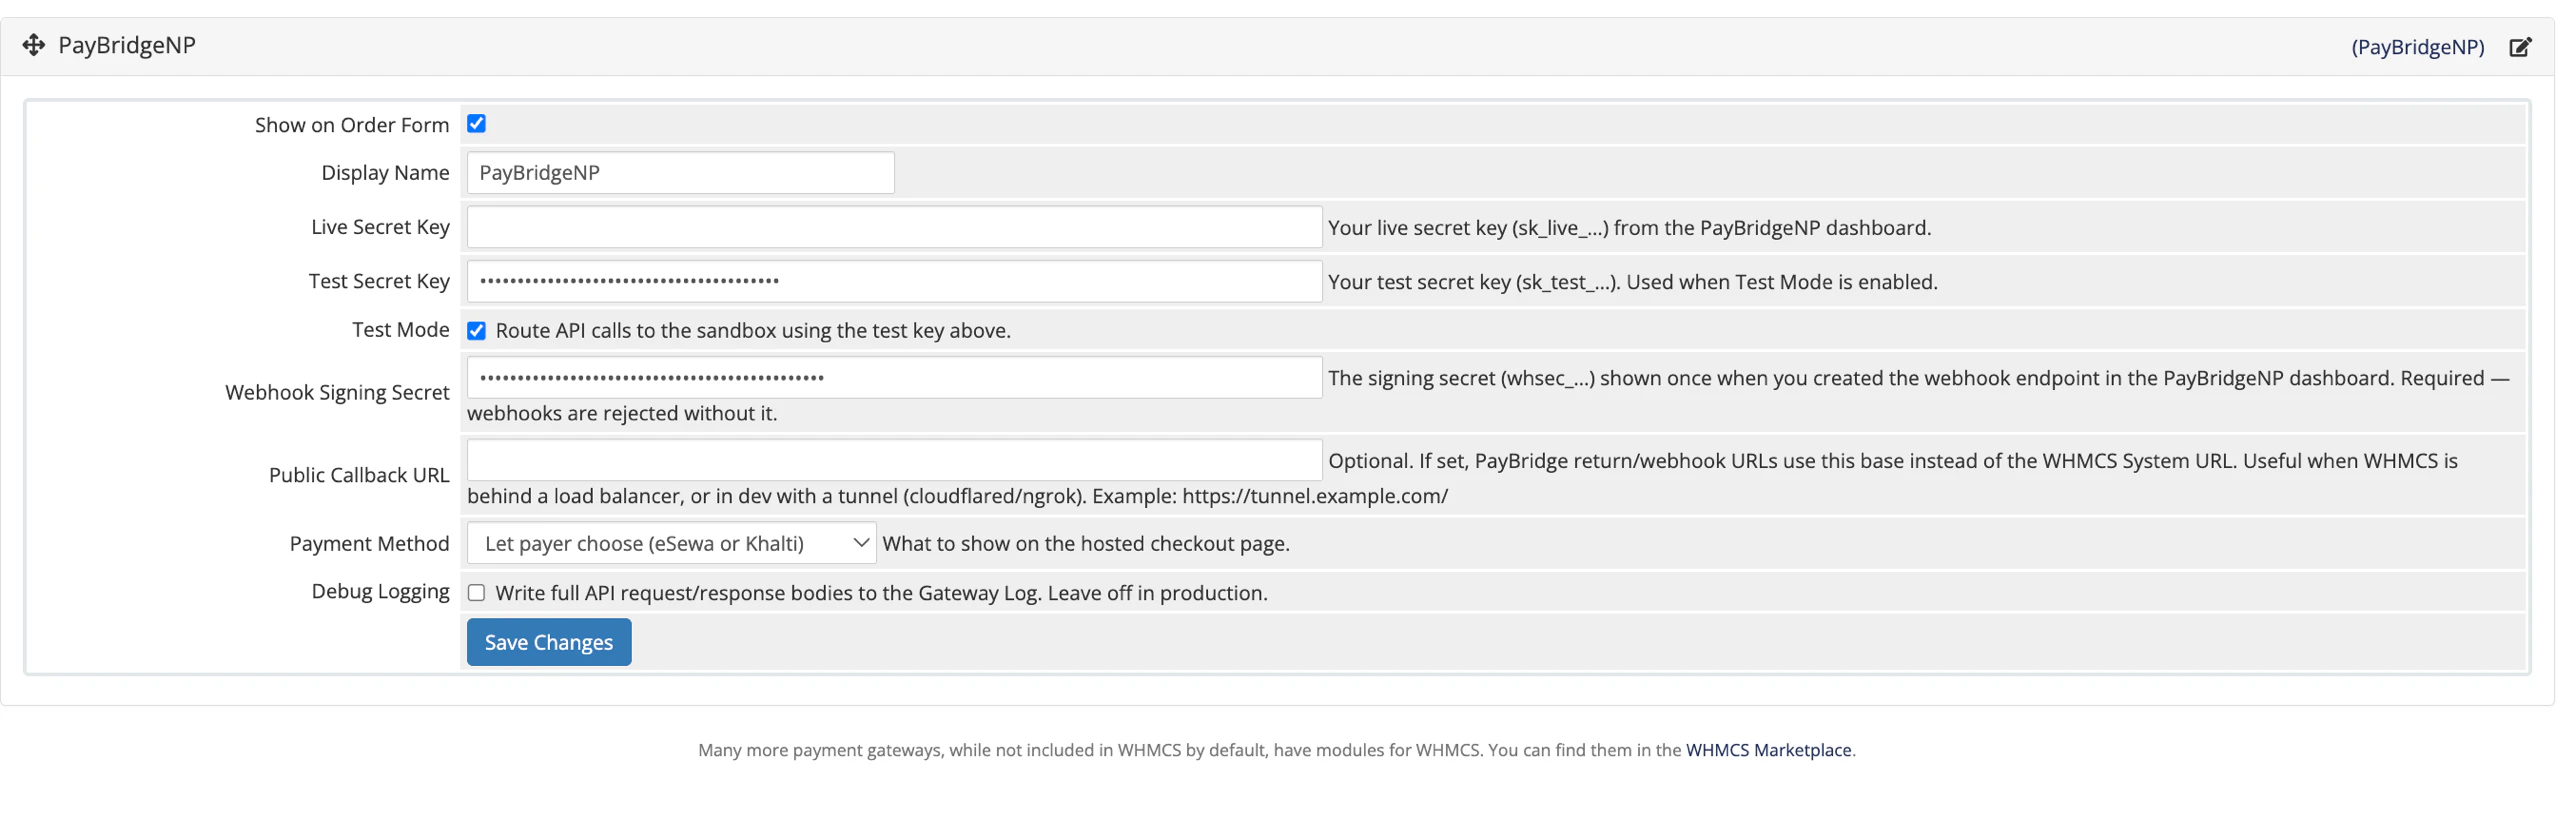
Gateway configuration form with all fields populated.
Don’t click Save Changes yet - you still need the webhook signing secret in the next step.
Step 5 - Register the webhook
The webhook is required. Without it, customers can successfully pay on the PayBridgeNP hosted checkout but the WHMCS invoice will stay Unpaid - WHMCS has no way to know the payment completed.- In your PayBridgeNP dashboard, go to Webhooks → Add endpoint
-
Set the URL to the full callback path on your WHMCS install:
-
Events to subscribe to:
payment.succeededpayment.failed
- Click Create endpoint
-
PayBridgeNP shows you the signing secret (
whsec_…) exactly once. Copy it immediately. - Paste it into the Webhook Signing Secret field in the gateway config from Step 4, then click Save Changes
Step 6 - Place a test invoice
Switch to a non-admin browser (or use an incognito window) so you see the client area like a real customer does.- In WHMCS admin, go to Clients → Add New Client and create a minimal client record
- Open that client → Invoices tab → Create New Invoice - add a line item (e.g.
TestforRs. 100.00), set Payment Method toPayBridgeNP - Click Publish - drafts don’t show a Pay button on the client side
- Click View as Client (or use the client-area login link)
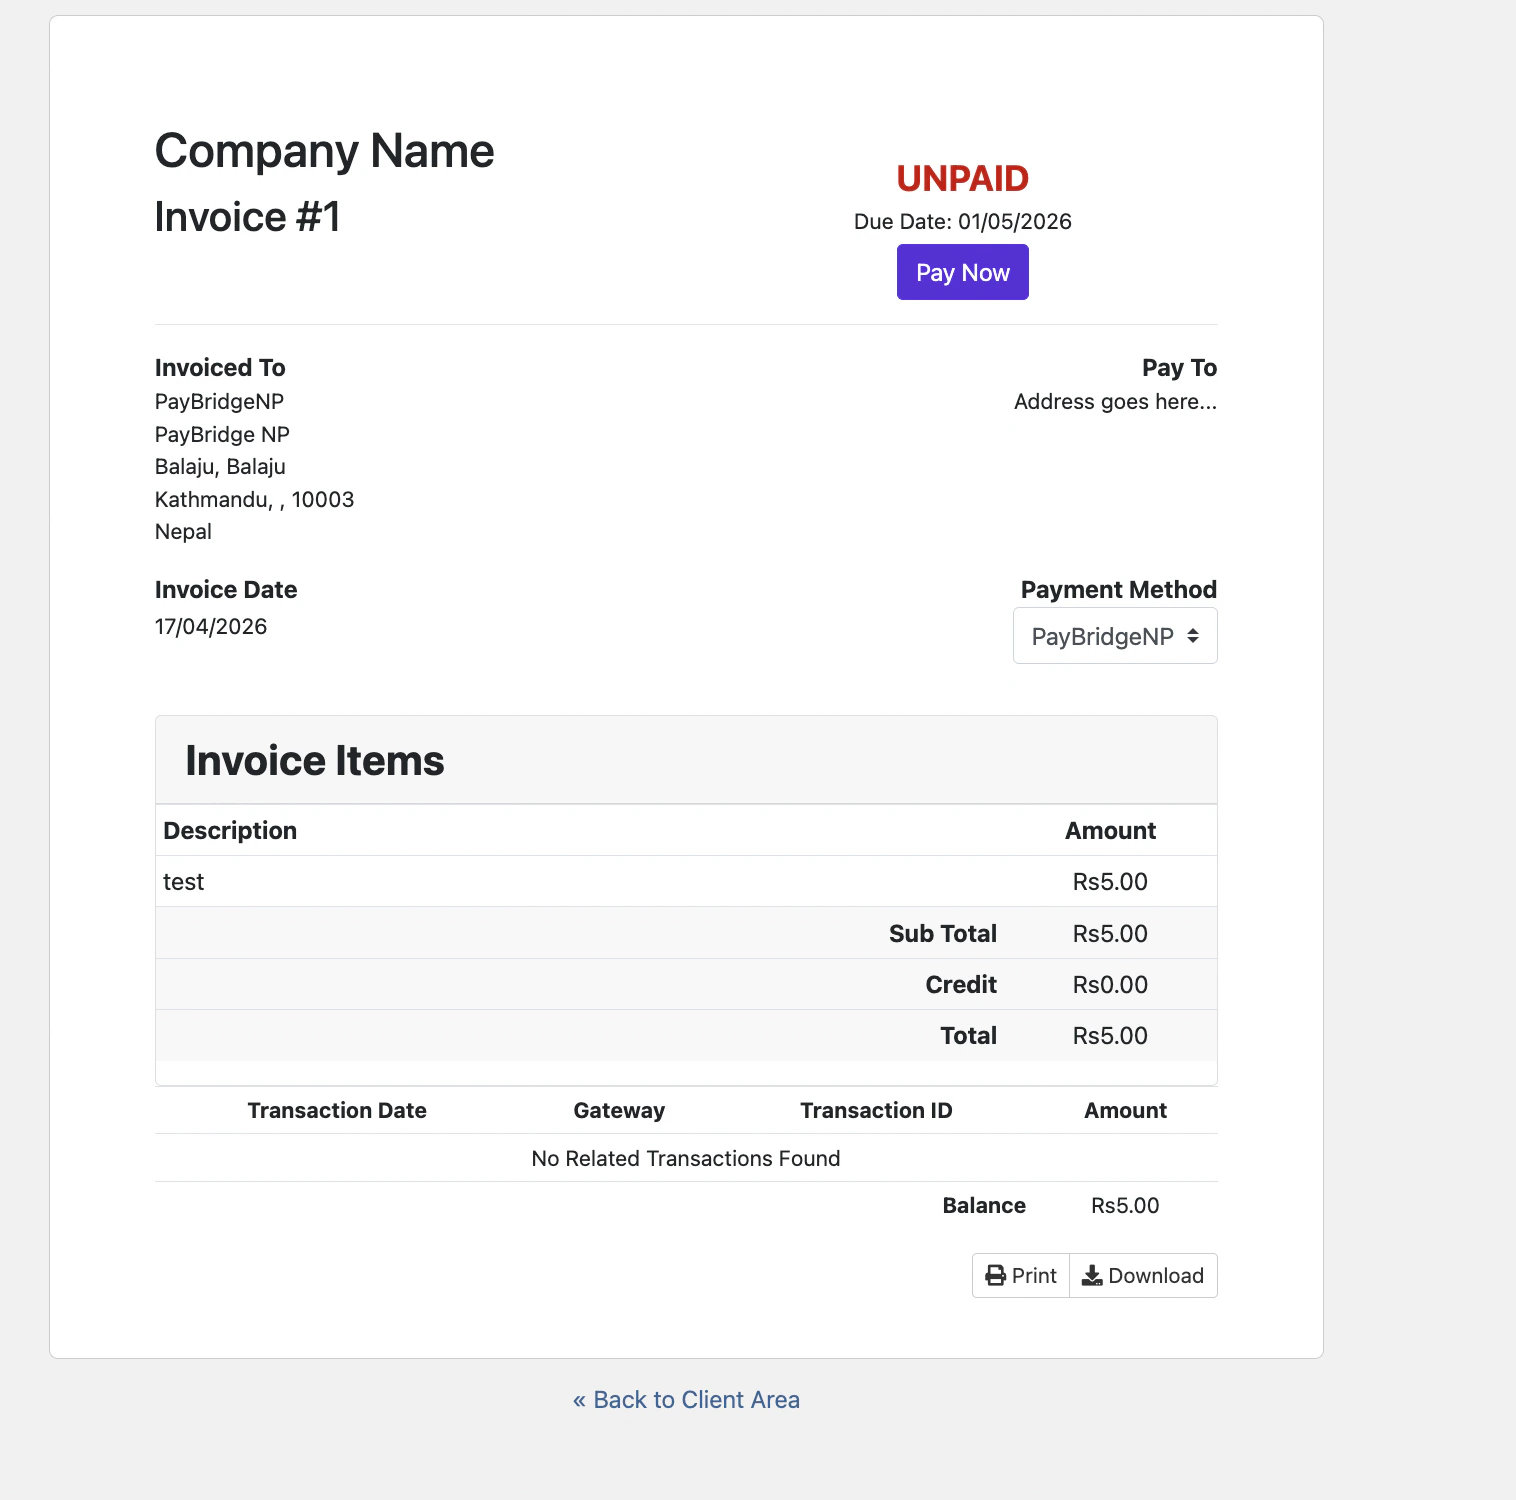
Client-side invoice view - the Pay Now button invokes the PayBridgeNP gateway.
What should happen
- Clicking Pay Now creates a PayBridgeNP checkout session and redirects you to the hosted payment page
- Pick an available eSewa, Khalti, or configured Fonepay method on the hosted page and complete the payment (sandbox credentials listed below)
- PayBridgeNP redirects you back to the WHMCS invoice view
- Within a few seconds the signed webhook arrives and the invoice flips to Paid - a transaction row appears under Transactions with the PayBridgeNP payment id (
pay_…)
Sandbox test credentials
If you used ask_test_… key, use the built-in sandbox credentials on the PayBridgeNP hosted checkout:
These credentials cover the eSewa and Khalti test environments. Fonepay has no sandbox: enabling it on a sandbox project uses your real Fonepay account and moves real money within the sandbox caps.
Local development webhook testing
If you’re running WHMCS onhttp://localhost (e.g. inside Docker), PayBridgeNP can’t reach it directly. Use a tunnel:
https://…trycloudflare.com/ URL into the Public Callback URL field in your gateway settings. This lets our module generate return/webhook URLs against the tunnel without you having to change the WHMCS System URL (which affects admin navigation).
Register the webhook in your PayBridgeNP dashboard against the same tunnel URL - full path, as always:
Updating the module
When a new version ships:- Download the latest ZIP from paybridgenp.com/integrations/whmcs or the WHMCS Marketplace
- Extract it into the root of your WHMCS install - files overwrite in place; your gateway config persists because it’s stored in
tblpaymentgateways, not on disk
What’s next
- How it works - payment flow, invoice state transitions, security model
- Troubleshooting - common issues and how to fix them